So a few weekends ago I decided that I’d like to embark on a fun project of making a network enabled garage door opener. A few weeks ago I was walking home from a neighbors, and found myself wishing I could open the garage from my phone, or ideally from my Band. This seemed like enough of a pretense to embark on a new project, and after a few weeks of tinkering I’ve emerged with the following working home accessory:
The Plan
When I started this project, I laid out a few key requirements:
- Build an application targeting an existing Wi-Fi enabled Raspberry Pi I had laying around.
- Build and debug the application on the Pi, and write it in modern C++.
- Setup Git on the Pi, and keep the code up in GitHub.
- Breadboard the hardware required to switch the garage light and door.
- Integrate a temperature/humidity sensor to allow me to play with garage cooling options over the upcoming summer months.
- Add a garage door closure sensor so the device can tell when the door is open or closed, so the app can provide open/closed status back to network clients.
- Integrate my X10 Firecracker dongle, to allow me to control my existing X10 outlets/lights
The C++ requirement came partly from a desire to tackle a ‘real’ project with the language using modern language features like smart pointers, and to try out some of the Boost library’s programming constructs for asynchronous networking. I’ve also been playing around with building basic electronic circuits, and making some necessary hardware for the Pi seemed like a fun time.
The Hardware
It took a while to get the electronics working, and I learned a decent amount along the way (even though there really isn’t much to this). I started trying to trigger my 3.3v relays directly using the GPIO pins on the Pi, and when that didn’t work I had to go back and figure out that GPIO pins can’t drive the level of current required. I was also using a shift register initially to reduce the number of pins coming off of the Pi, but it ended up being unnecessary and was eventually removed.
Testing first iteration using shift registers
The second iteration two introduced some diodes and transistors, and then I was up and running. I added a couple momentary contact switches to provide local light and door control, and picked up some DHT11 to do my temperature/humidity sensing.
I put everything together on a breadboard, with a plan to solder everything together and put it into a clean enclosure with my couple of surface mounted switches, but I quickly fell in love with the idea of just putting an acrylic top over it, and mounting the Pi and breadboard together on another sheet of acrylic (spray painted black on the back), as-is. It has a fun look to it, and that might be what I like about the whole project most.
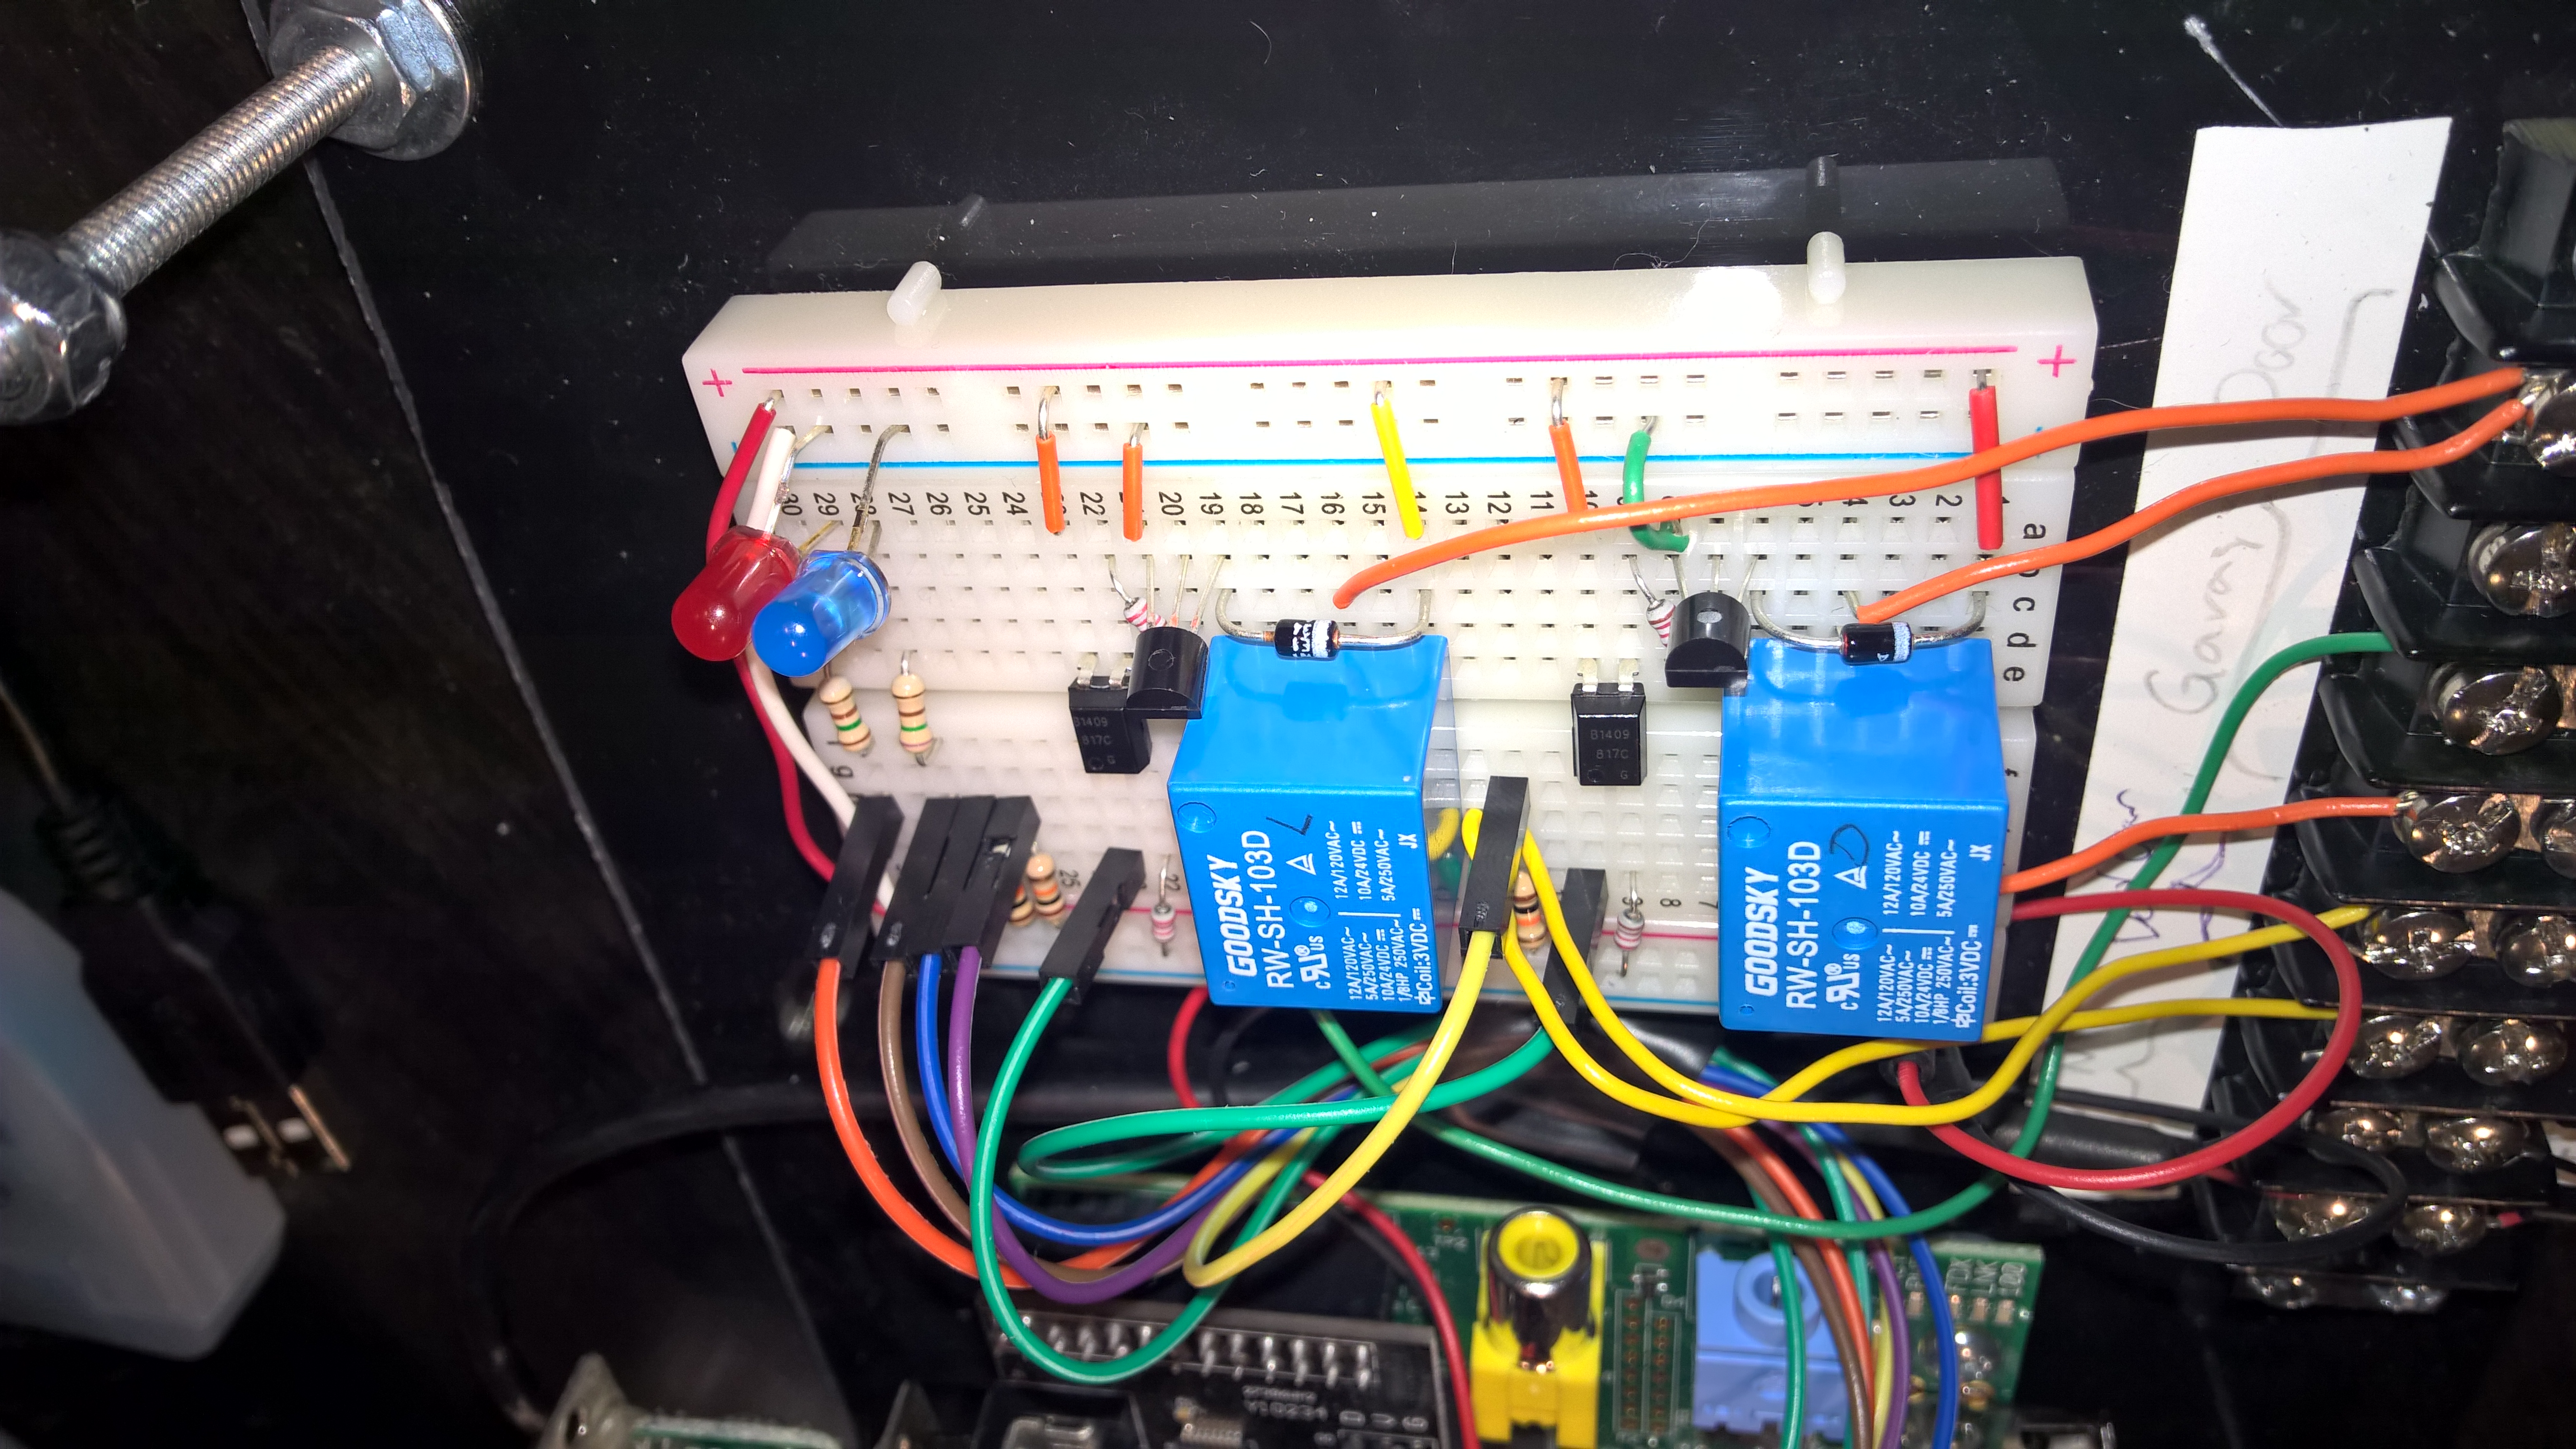
Second iteration of electronics using transistors, diodes, and opto-couplers
The one part that sadly hasn’t made the cut yet is the X10 firecracker. This is a control device I used to have connected to my PC (back when I had a serial port), which works in conjunction with a wireless receiver to send On/Off power commands to outlets and switches throughout my house. I found and installed an RS-232 shield on the Pi, but later found out that it doesn’t connect the RTS/CTS lines used to power and signal the Firecracker. Oh well, I’ll think of something in the future…
The Software
I chose CodeBlocks as my IDE of choice on the Pi, after seeing a few recommendations online for people coding in C++ on the Pi. I was able to target C++ 11 features, and although it took a while to figure out how to get the Boost libraries to link up to my project, the process wasn’t too bad. In general, however, I wouldn’t recommend that people try to write code directly on the Gen 1 Raspberry Pi, at least when you’re trying to do it using an IDE on top of x-windows. It’s really slow, not only when trying to compile (which takes a long time even for trivial programs), but even typing code into the editor is noticeably delayed. I eventually started writing and testing as much as I could in Visual Studio, and then bringing the code files over to the Pi for final testing and implementation. For final debugging/testing I eventually ended up editing files using VI over SSH to skip the UI overhead on the PI, and that seemed much more usable.
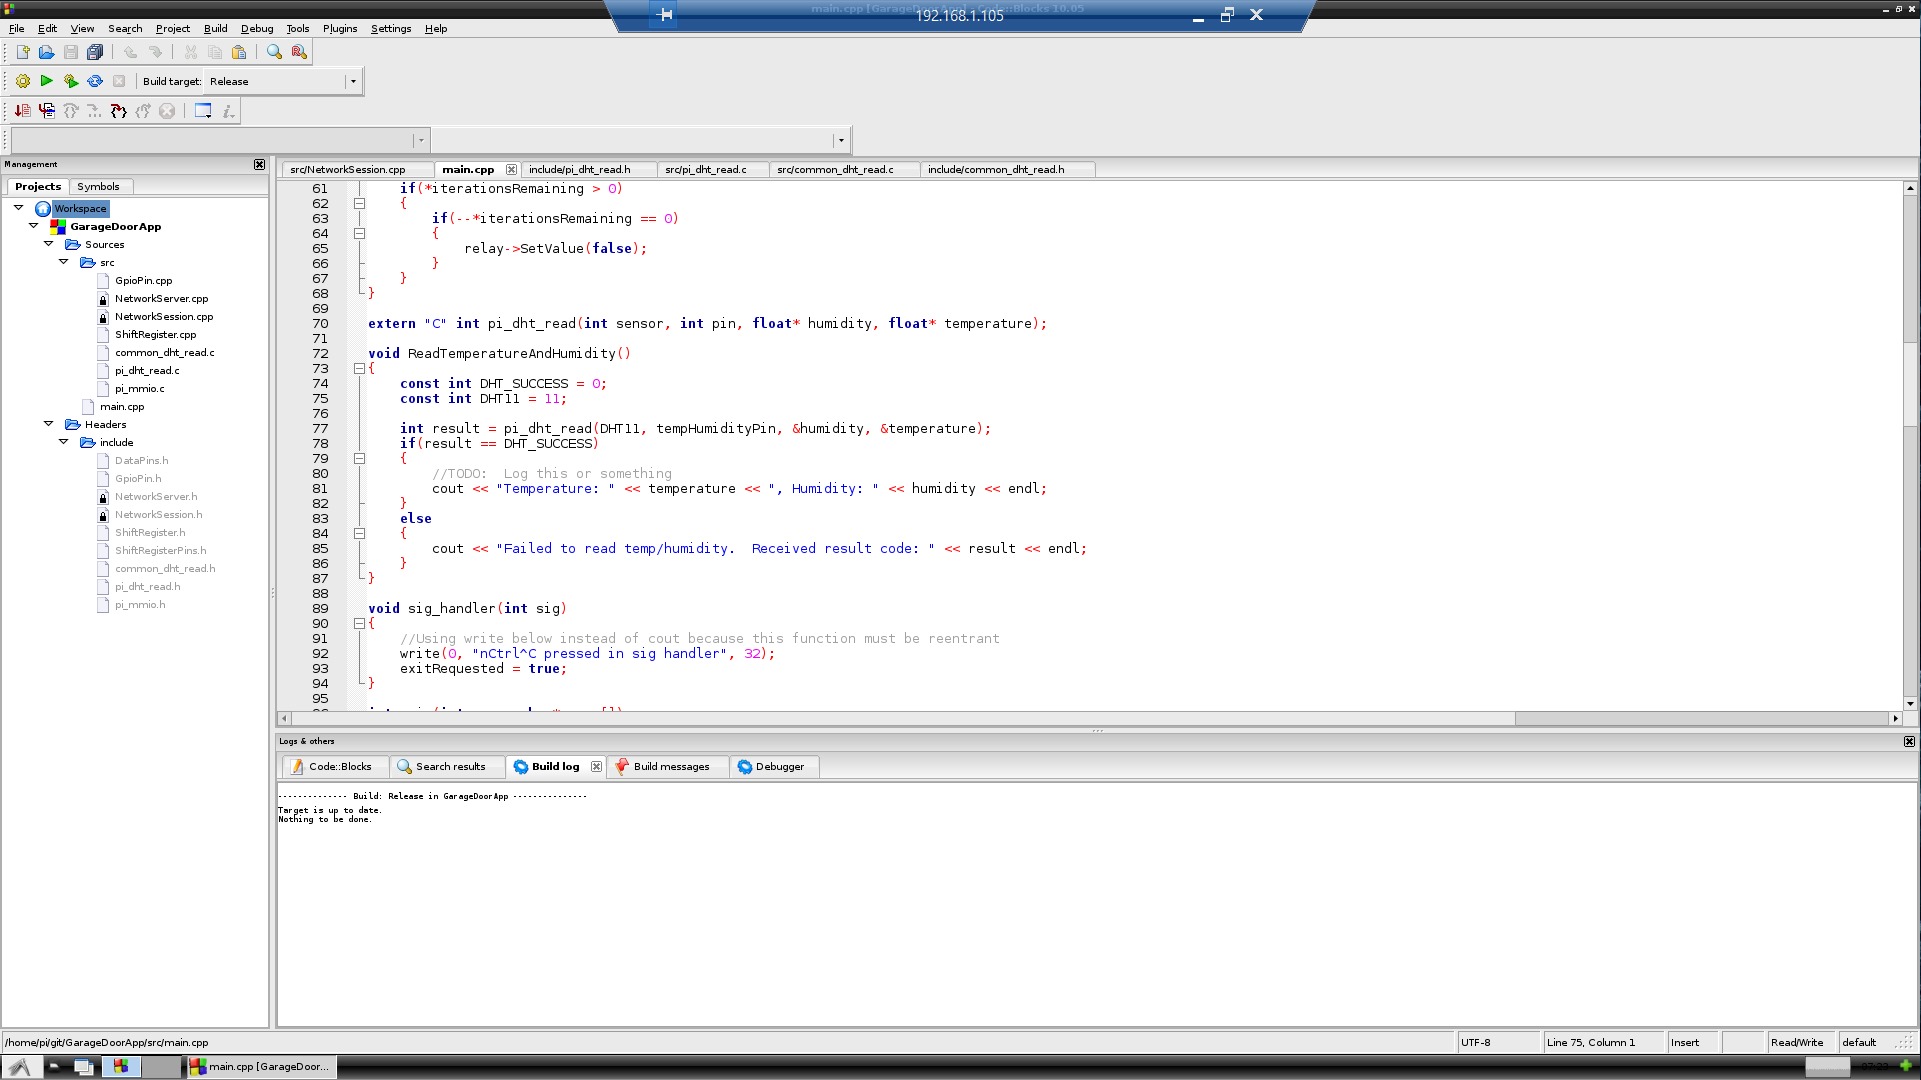
Running CodeBlocks on the Pi
I have the project checked into GitHub, and you can check it out here. With any luck I’ll actually come back and check in some schematics for the hardware portion of the application, but for now at least the software is up there in case the Pi dies in the extreme heat of my garage over the summer.
Trying it Out
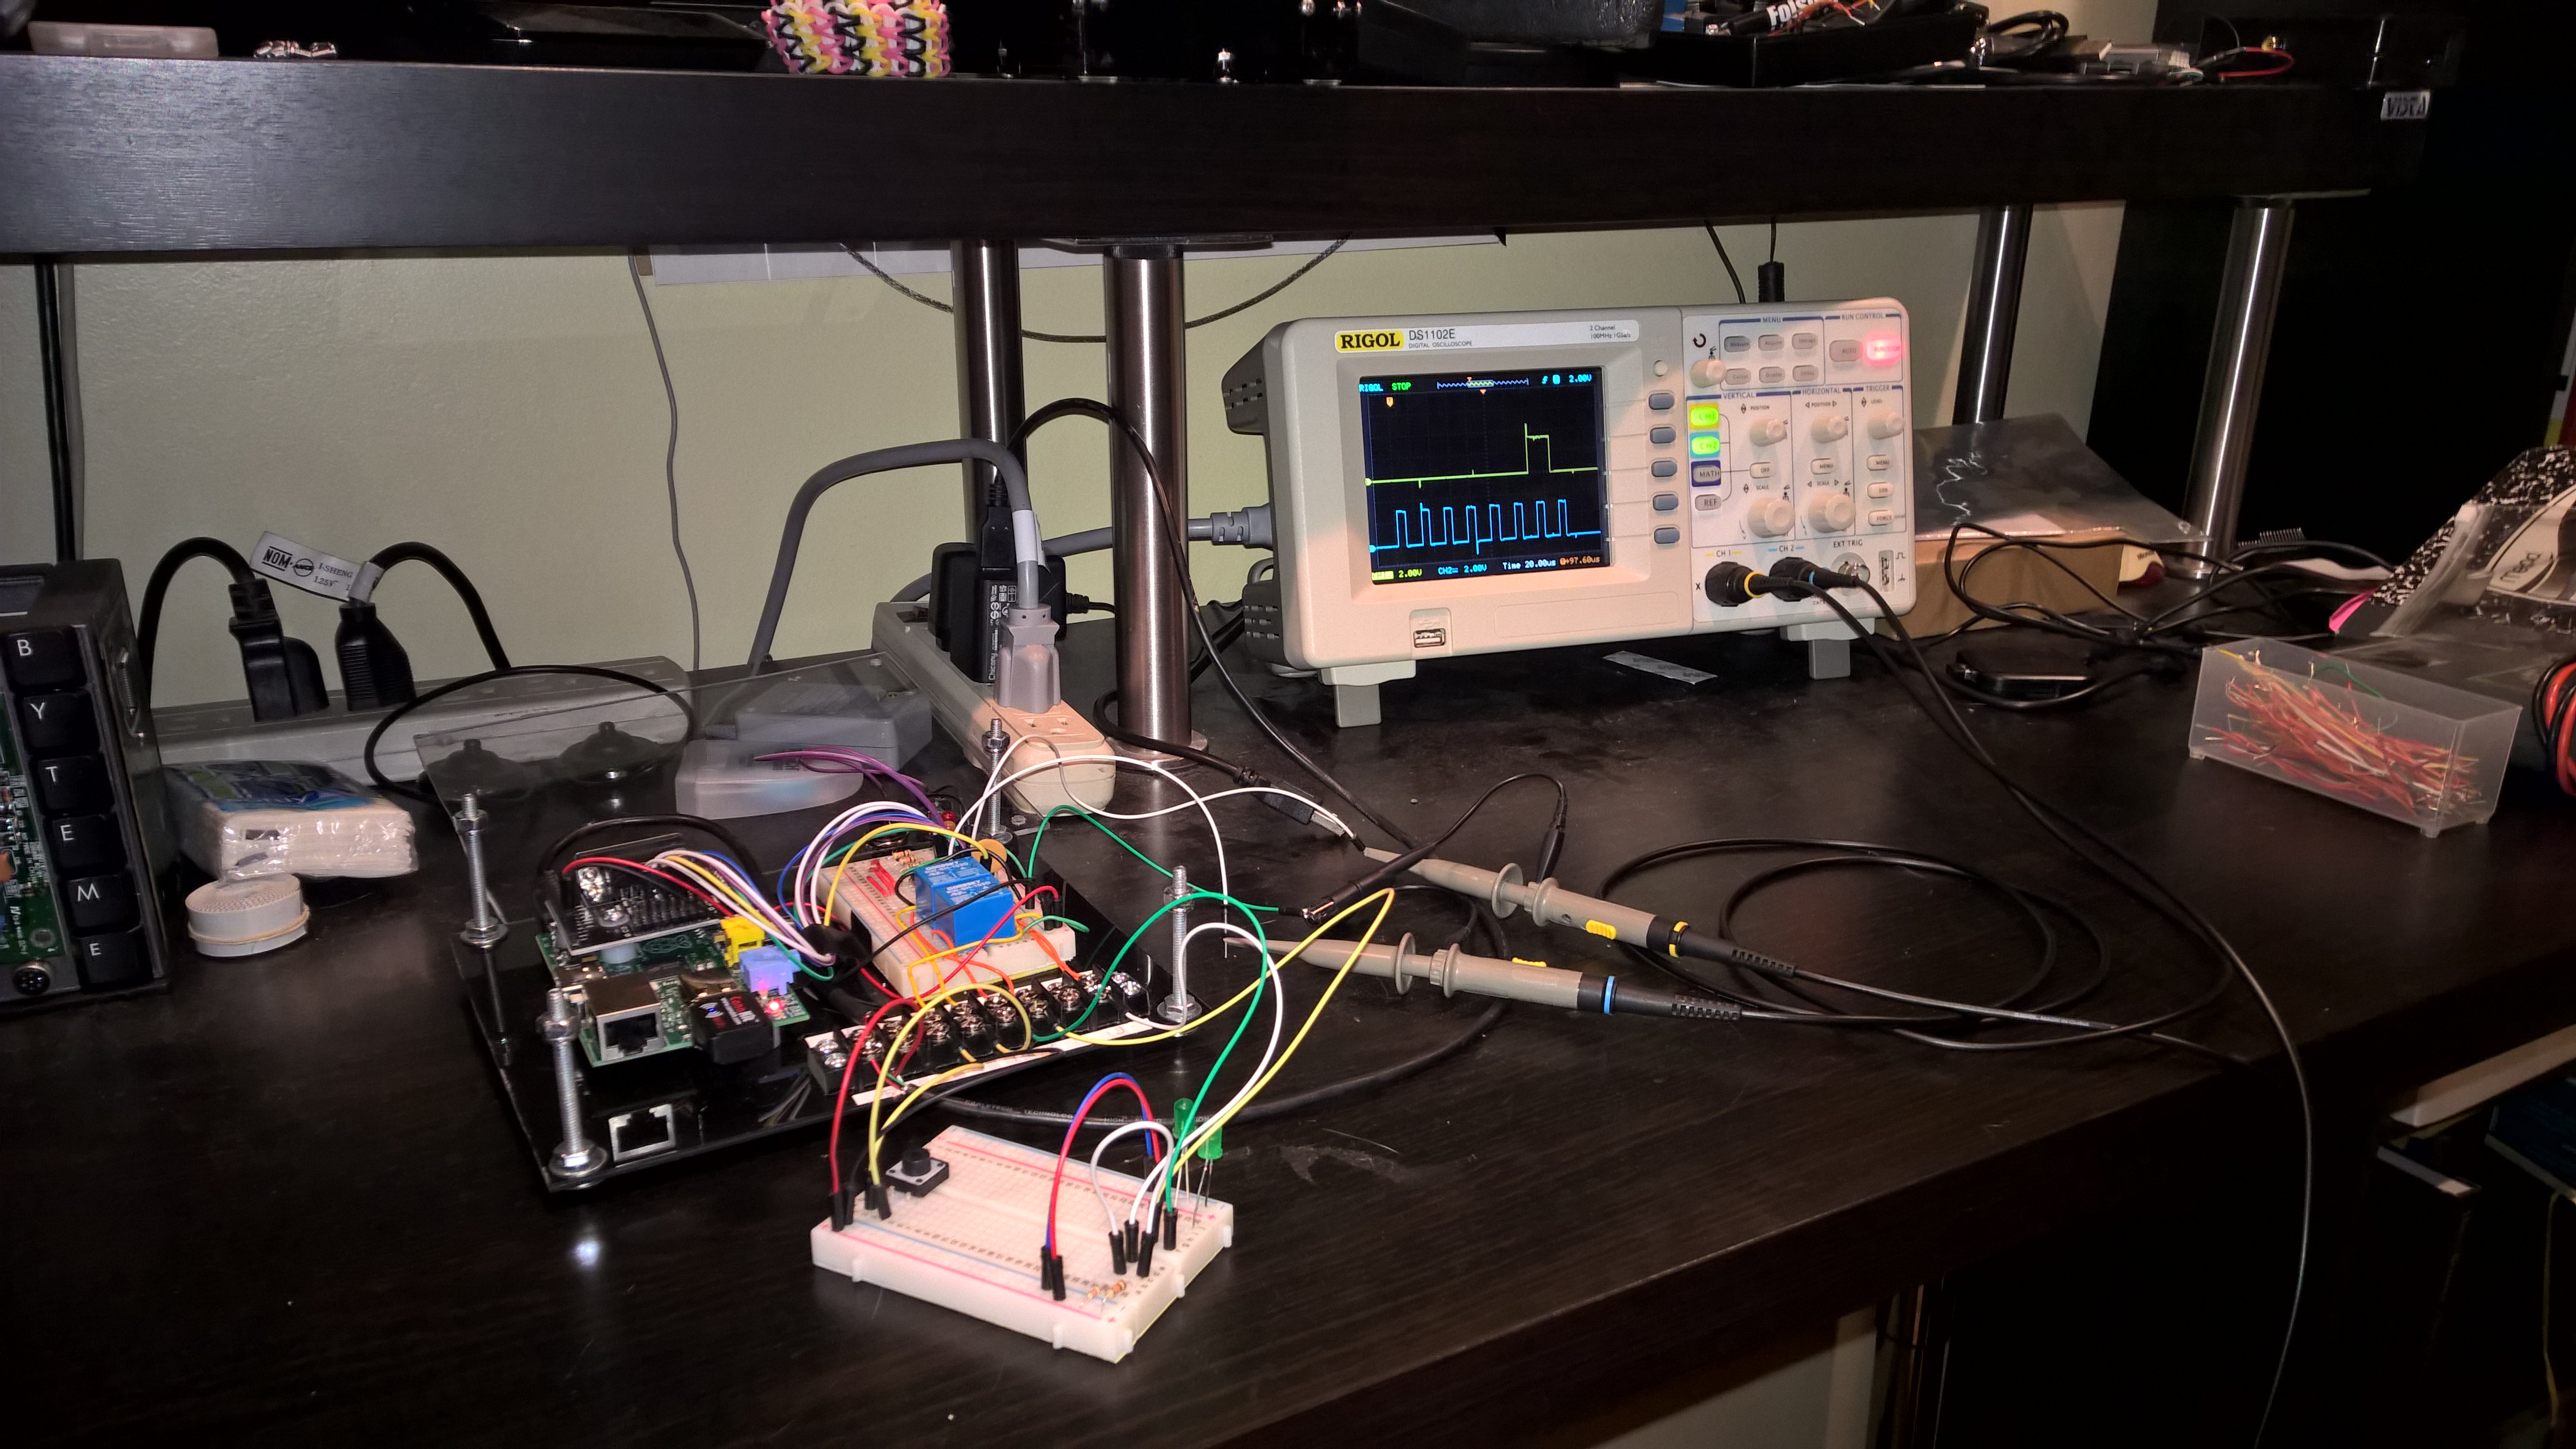
I was pretty excited the first time I was able to trigger the door and light manually using the new Pi-based controller, and even more so when triggering it from my desk. The design has two LEDs, one that blinks on/off at roughly a one second interval, and one that lights red when the door is open.
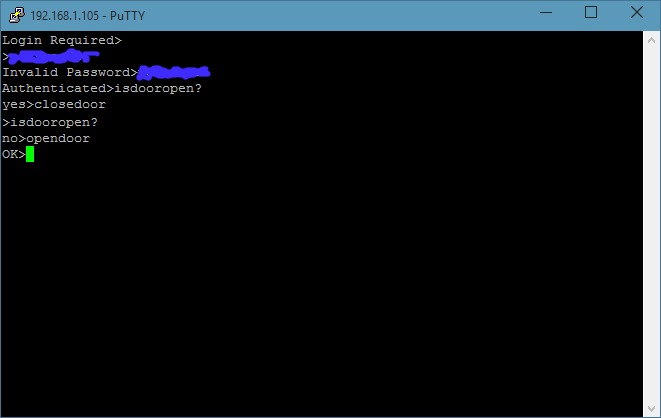
Talking to the garage door using Putty
What’s Next?
In the next post, I’ll cover writing Windows Phone and hopefully a Microsoft Band apps to talk to our garage door.
I’m duly impressed. That project is right up my alley, though I haven’t done anything like it in years. I really like the idea, and maybe I’ll give something a try with an Arduino or Raspberry Pi, myself, one of these days.
I agree with you it has a fun look, since you managed to keep your breadboard connections pretty neat (mine usually had long wires and such hanging off everywhere). I like the LED indicators.
I’m especially impressed that you have forged into C++ from C# with the 11 feature-set it can certainly be treated similarly in many ways, but it’s still many steps in a direction that I recall you once treating with some trepidation (:
Thanks James-O! I’m still not nearly as capable in C++, but it certainly seems easy to get hooked once you realize the raw power difference between C++ and C#. It’s crazy performant – I wish I hadn’t been so stubborn for so many years. Some of the build and runtime errors are still a little rough to debug, but I’m getting a little better as I go along. I suppose that’s how it goes 🙂
I am quite impressed with your post,I found it very interesting and helpful.I have just purchased a new garage door opener from https://atlanticoceangrp.com/garage-openers but I am not that much satisfied with running codes programmed in it .I would love to programmed it according to your above post.